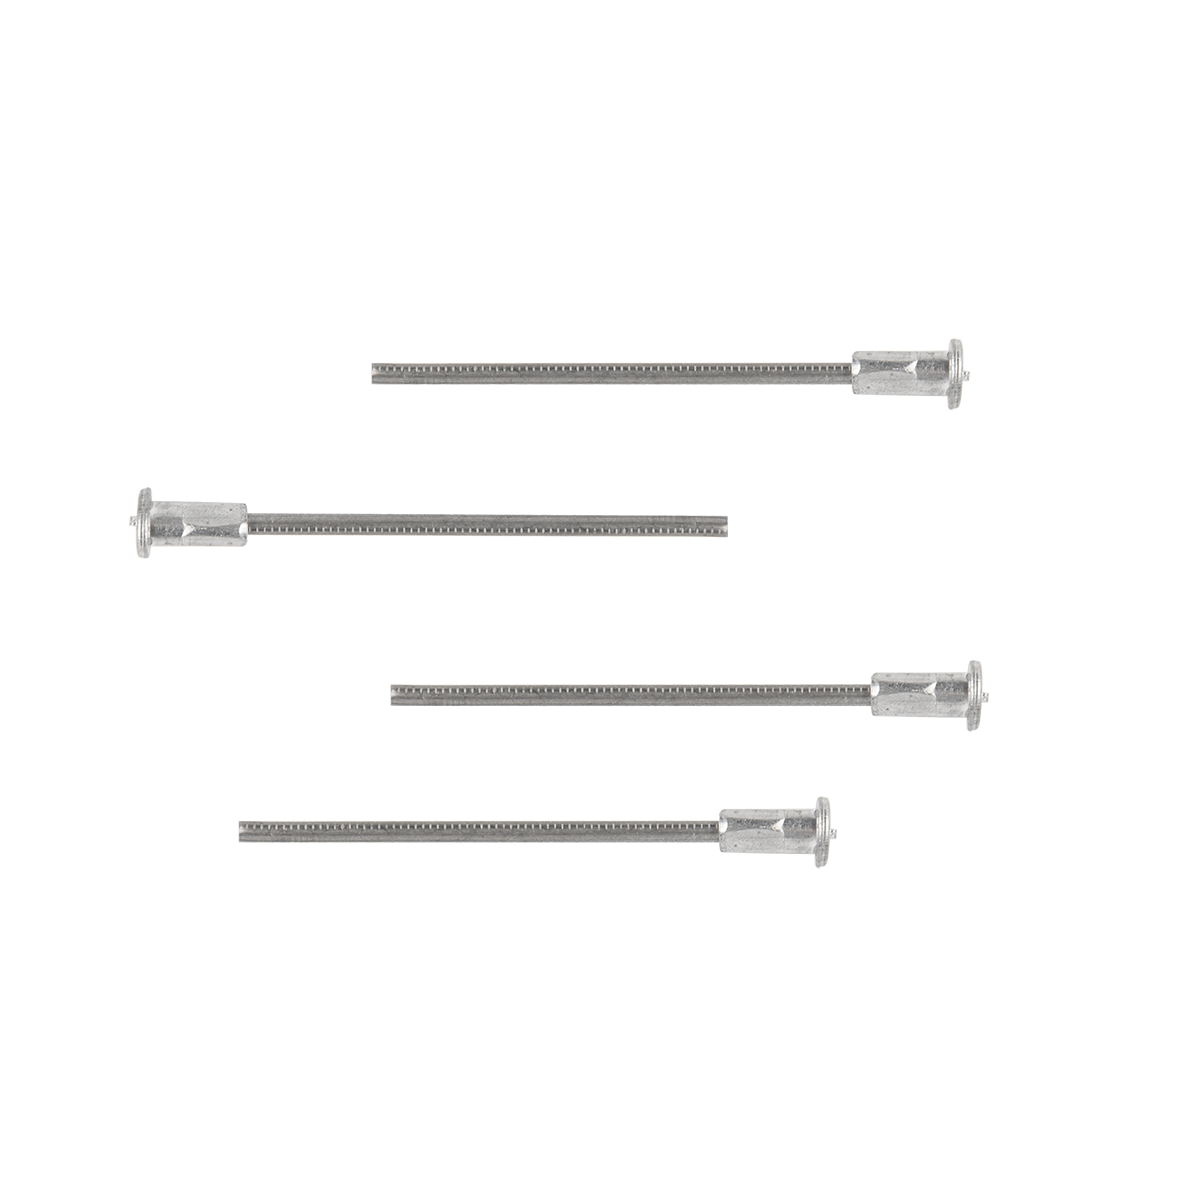
Installation Tutorial of Self-Adhesive Insulation Pins
Author: admin Date: 2024-08-16 15:50:18 Category: INDUSTRY NEWS
Installing self-adhesive insulation pins may seem like a straightforward task, but it requires attention to detail to ensure a successful and effective installation. Here's a comprehensive guide to help you through the process.
First, prepare the surface where the insulation pins will be attached. Make sure it is clean, dry, and free from any dirt, grease, or debris. This will ensure a strong bond between the pins and the surface.

Next, carefully remove the protective backing from the adhesive side of the insulation pins. Take your time to avoid accidentally touching the adhesive and reducing its stickiness.
Position the pin at the desired location. It's important to plan the placement in advance to ensure even distribution and proper insulation coverage. Align the pin perpendicular to the surface for maximum stability.
Once positioned, apply gentle but firm pressure to the pin for a few seconds. This helps the adhesive make full contact with the surface and enhances the bond.
If you're installing multiple pins, maintain a consistent spacing between them based on the insulation material's requirements and the specific application. This ensures uniform insulation and structural integrity.
For larger or more complex insulation projects, it might be beneficial to start from one corner or edge and work your way systematically across the area. This approach helps maintain order and accuracy.
Example: When insulating a duct, start at the end and work along the length, placing the pins at regular intervals.
After installing all the pins, double-check their positions and make sure they are firmly attached. Any loose or misaligned pins should be repositioned or replaced.
Remember, the key to a successful installation is patience and precision. By following these steps carefully, you can ensure that the self-adhesive insulation pins provide reliable insulation and long-term performance.