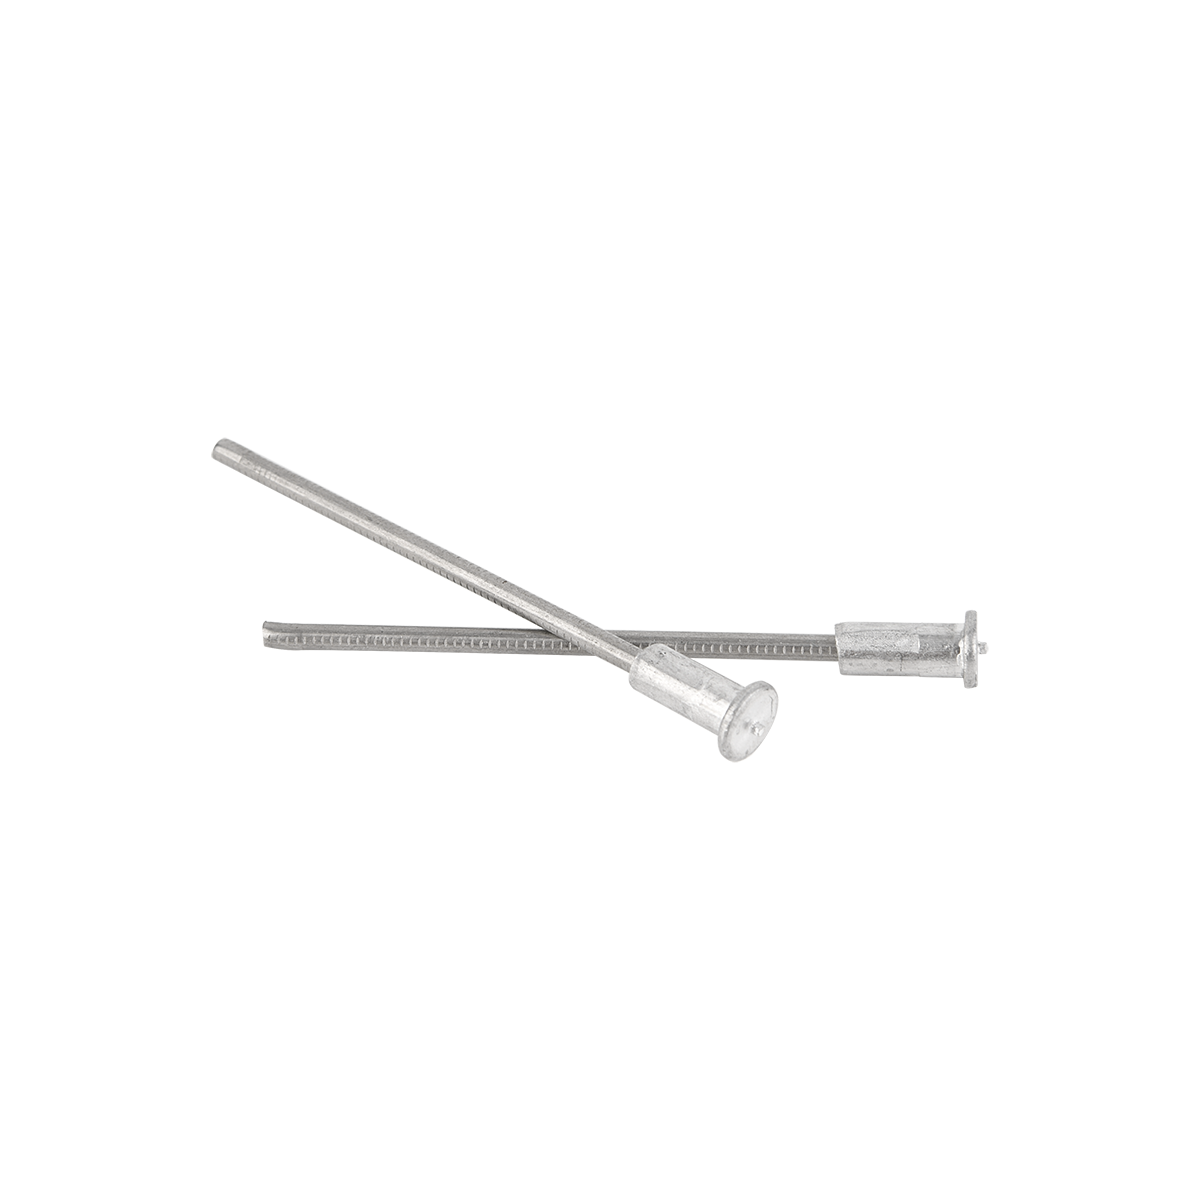
Stuck Up Insulation Pins installation
Author: admin Date: 2024-08-09 16:30:33 Category: INDUSTRY NEWS
Proper installation of Stuck Up Insulation Pins is crucial for ensuring insulation effectiveness and system stability. The following are detailed installation steps and precautions:
Preparation before installation:
Base surface treatment: Thoroughly clean the base surface, remove dust, oil stains, loose materials, and moisture, and ensure that the base is dry, flat, and sturdy. It can be processed using brooms, cleaning agents, and drying equipment.
Material preparation: Prepare sufficient quantities of Stuck Up Insulation Pins, adhesive, application tools (such as brushes or glue guns), and necessary protective equipment (such as gloves and goggles).

Planning layout: Based on the specifications and design requirements of the insulation materials, plan the installation positions of the insulation nails on the surface of the base layer to ensure uniform distribution and meet the bearing requirements.
Installation steps:
Adhesive application: Use an application tool to evenly apply an appropriate amount of adhesive to the bottom of the insulation nail. Pay attention to the moderate amount of adhesive used, as too much may lead to overflow and waste, while too little may affect the bonding effect.
Installation of insulation nails: Quickly press the insulation nails coated with adhesive onto the predetermined position, keep them vertical, and apply appropriate pressure to ensure that the insulation nails are in close contact with the surface of the base layer. Ensure installation is completed before the adhesive solidifies.
Adjustment and inspection: After installation, check whether the position of the insulation nail is correct, and adjust it in a timely manner if there is any deviation. At the same time, ensure that there are no gaps or bubbles between the insulation nails and the surface of the base layer.
Precautions after installation:
Curing time: According to the instructions of the adhesive used, wait for sufficient curing time for the adhesive to achieve optimal bonding strength. During the curing process, avoid applying external force or disturbance to the insulation nails.
Quality inspection: After curing is completed, conduct sampling inspection, gently pull the insulation nail, and check its bonding firmness. If there are loose insulation nails, they should be reinstalled in a timely manner.
Subsequent construction: After the insulation nails are firmly installed, the laying of insulation materials and subsequent construction operations can be carried out. During the construction process, attention should be paid to avoiding collisions and damage to the insulation nails.