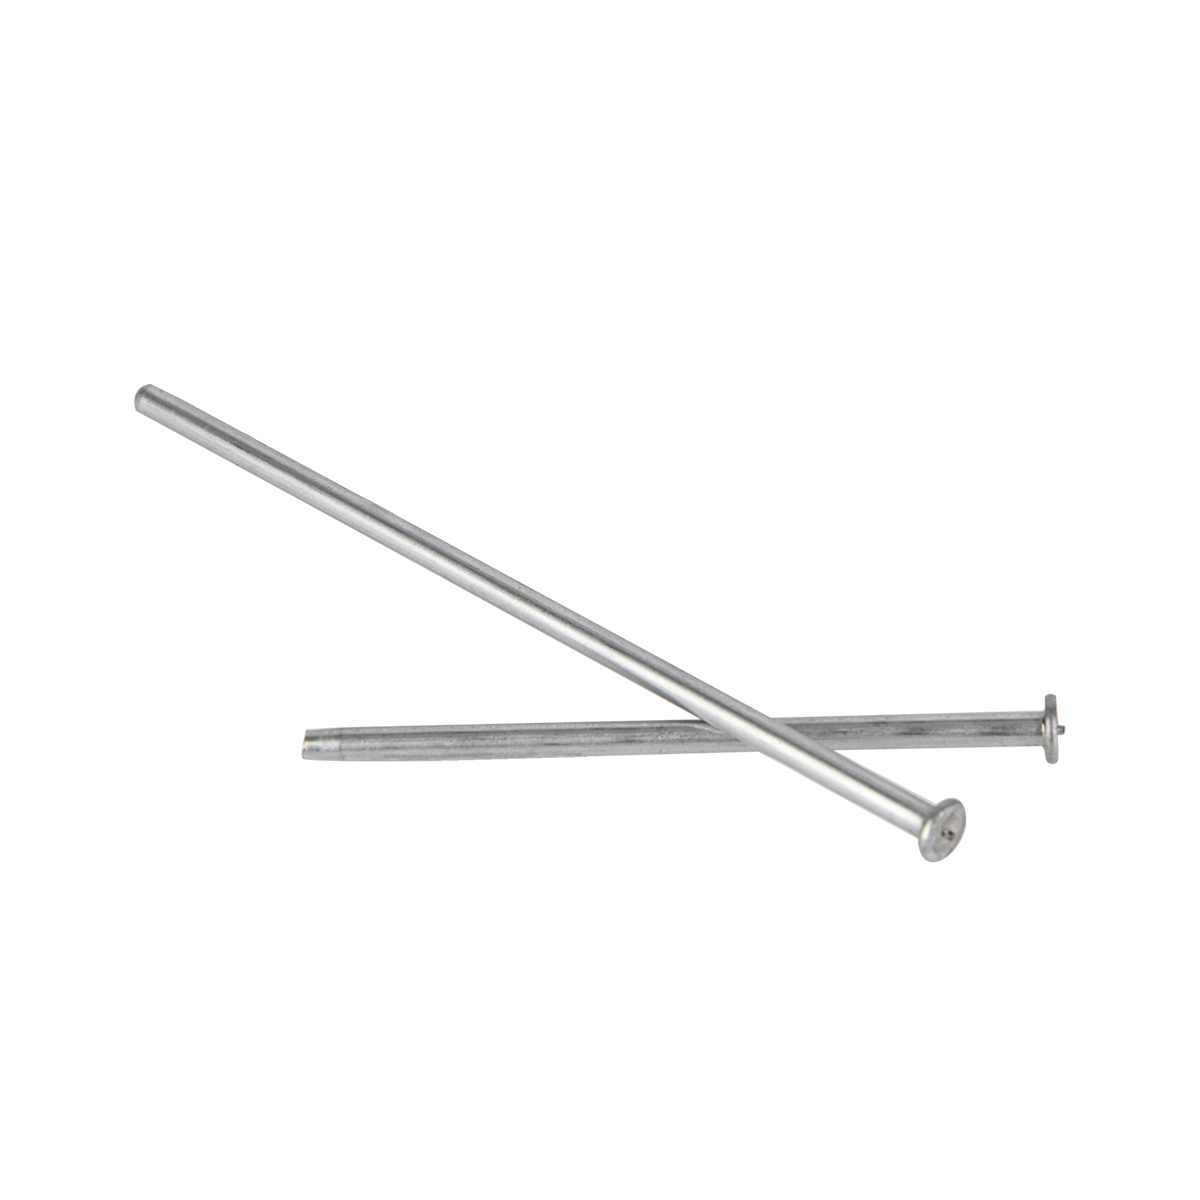
The Installation Steps of Insulation Pins
Author: admin Date: 2024-08-16 15:57:32 Category: INDUSTRY NEWS
The installation of insulation pins is a process that requires precision and care to ensure effective insulation and a secure hold. Here are the detailed steps to install insulation pins:
Before beginning, make sure you have all the necessary tools and materials at hand. This includes the insulation pins themselves, a measuring tape, a marking tool, and any required installation equipment such as a hammer or a power drill.
The first step is to measure and mark the locations where the insulation pins will be installed. Use the measuring tape to determine the appropriate spacing based on the type and thickness of the insulation material and the specific requirements of the project. Mark these spots clearly with the marking tool.

Next, prepare the surface by cleaning it thoroughly to remove any dirt, debris, or moisture. This will ensure a good adhesion and a stable connection.
Now, take an insulation pin and carefully remove any protective cover or film from the adhesive or fastening component, if applicable.
Position the pin at the marked location and align it perpendicular to the surface. If using a self-adhesive pin, press it firmly onto the surface and hold it in place for a few seconds to allow the adhesive to bond. If the pin requires mechanical fastening, such as being driven in with a hammer or drilled in, use the appropriate tool to secure it, but be cautious not to apply excessive force that could damage the surface or the pin.
Repeat this process for each marked location, maintaining a consistent spacing and alignment of the pins.
For larger insulation areas, it's advisable to work in sections to ensure accuracy and organization. Start from one end and gradually progress across the surface.
After installing all the pins, visually inspect the entire area to check for any misaligned or loose pins. Make any necessary adjustments to ensure a tight and secure installation.
For example, when insulating a pipe, measure and mark the points along the circumference of the pipe at equal intervals. Then install the pins one by one, making sure they are evenly spaced and providing uniform support to the insulation material.
Following these steps carefully will result in a successful installation of insulation pins, providing reliable insulation and stability.