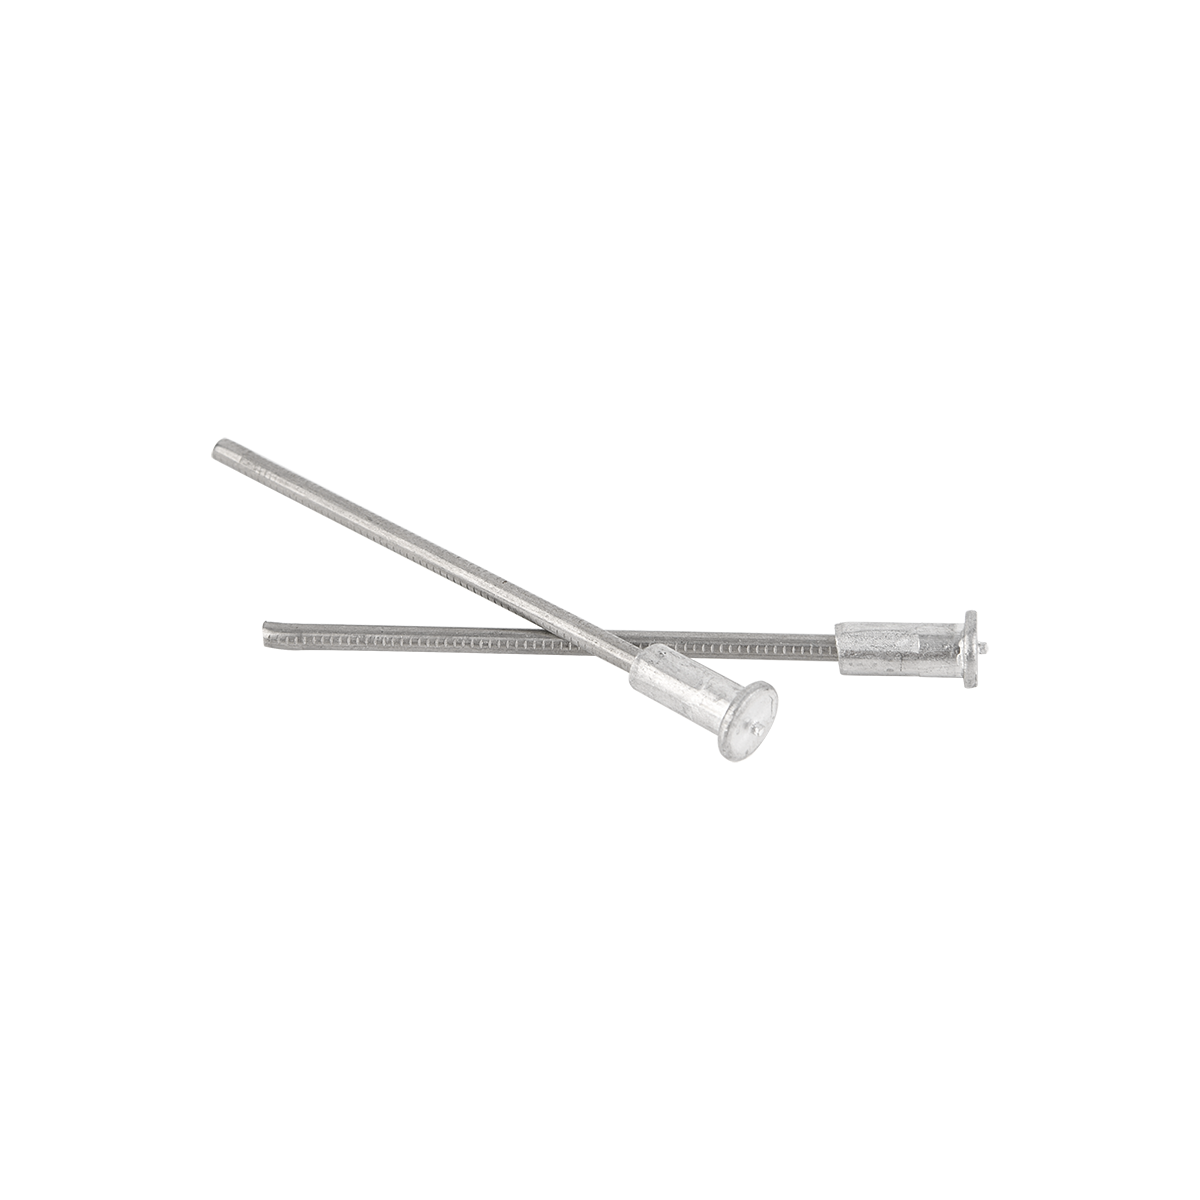
The Usage Method of Insulation Pins
Author: admin Date: 2024-08-16 15:52:53 Category: INDUSTRY NEWS
The correct usage of insulation pins is crucial to ensure effective insulation and the stability of the insulation material. Here are the detailed steps and considerations for using insulation pins:
Before starting, make sure you have the appropriate type and size of insulation pins for your specific insulation project. The pins should be compatible with the thickness and type of the insulation material you are working with.
Prepare the surface where the insulation will be installed. It should be clean, dry, and free from any debris or contaminants that could affect the adhesion of the pins.

Measure and mark the locations where the pins are to be placed. This ensures even distribution and proper support for the insulation.
When handling the insulation pins, avoid touching the adhesive portion to prevent reducing its bonding strength.
Position the pin at the marked spot and press it firmly into the surface. Apply consistent pressure to ensure a secure attachment. If using self-adhesive pins, allow a few seconds for the adhesive to bond fully.
For multiple pins, maintain a consistent spacing as recommended by the insulation manufacturer or based on industry standards. This helps provide uniform support and insulation coverage.
In some cases, you may need to use a hammer or a similar tool to drive the pins in, especially if the surface is hard. Be careful not to apply excessive force that could damage the pins or the insulation.
For example, when insulating a pipe, start at one end and work your way along, placing the pins at regular intervals around the circumference.
After installing all the pins, inspect the entire area to ensure all pins are securely in place and the insulation is held firmly.
It's important to note that the specific usage method may vary depending on the type and design of the insulation pins and the nature of the insulation project. Always follow the manufacturer's instructions and best practices in the industry to achieve optimal results.